Affordable inventory management for small businesses
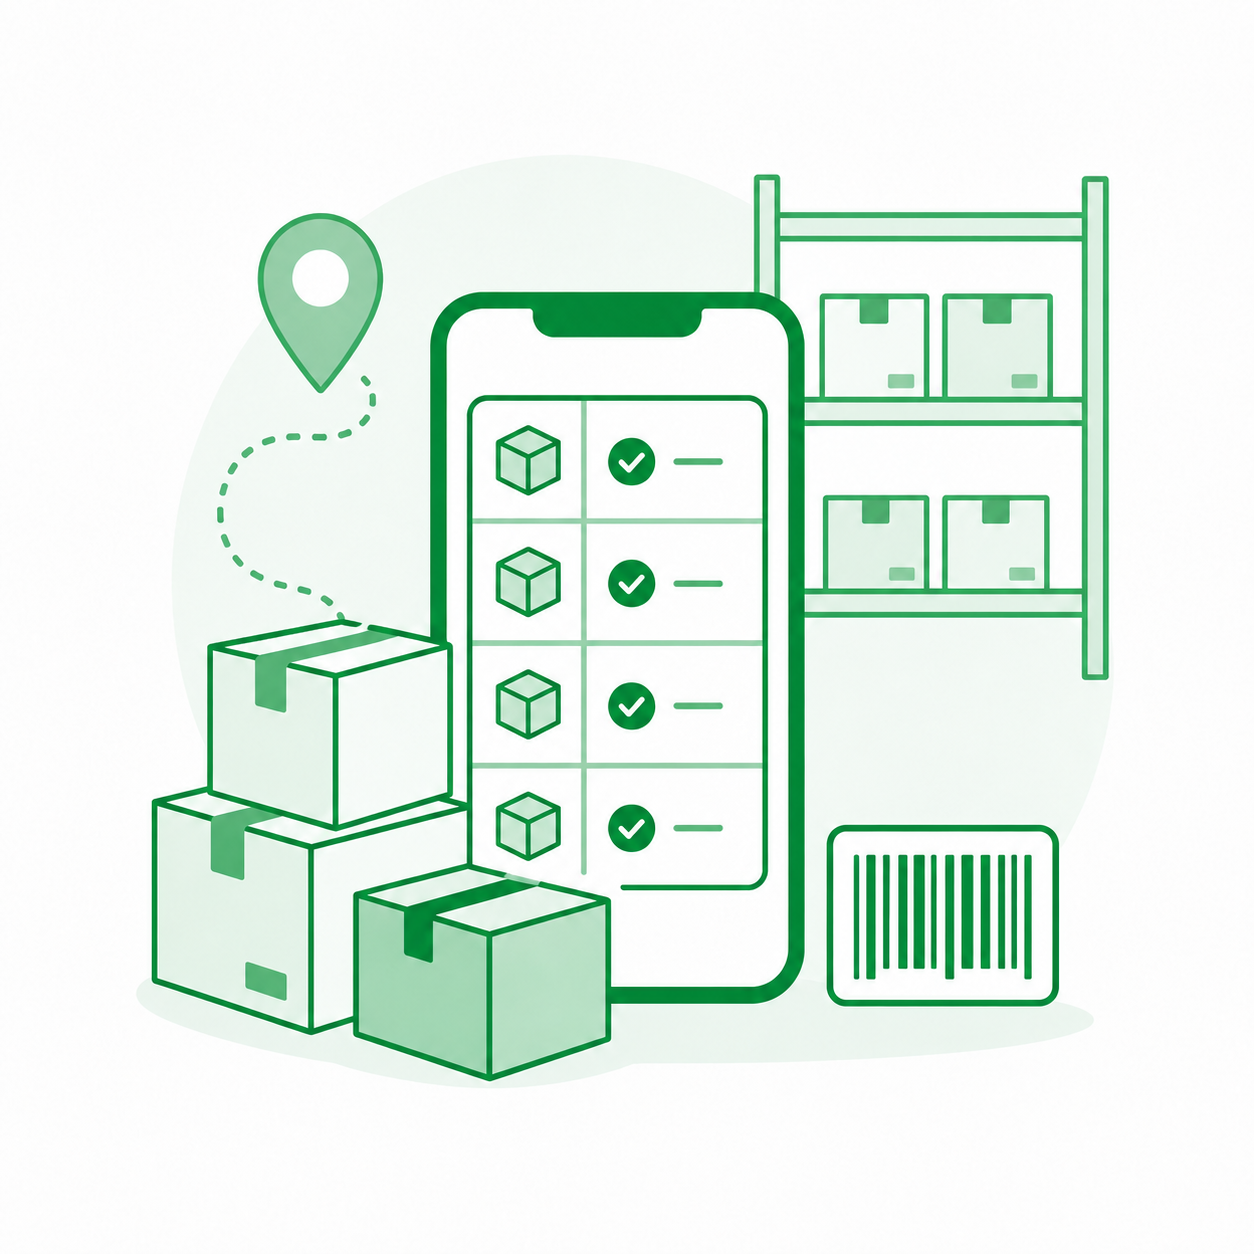
Pick and Pack Orders with a Phone
Spreadsheet Data Entry helps you enter data into spreadsheets quickly from your phone: create forms, fill in fields, scan QR codes and barcodes, add photos, and save records to Google Sheets or locally.
When an order is picked and packed, I want to record the item, box, quantity, and packer on my phone so that the packing history for every order is preserved.
Spreadsheet Data Entry vs Alternative Ways to Solve This
Alternative
Limitations
Why SDE is better
Printed picking list
Packing confirmations remain on paper, and the history by box and packer must be transferred separately
SDE lets you record the item, box, quantity, and packer in one mobile entry without re-entering data; it uses multiple code scanners, lists, and required fields.
Direct entry in Excel or Google Sheets from a phone
On a small screen it is difficult to find the correct row and column, and formulas, previous records, or the spreadsheet structure can be changed accidentally
SDE separates data entry from spreadsheet editing: the user sees only the required fields, and values are placed automatically in the columns configured for the “Pick and Pack Orders with a Phone” use case.
Messenger or packer notes
The data is unstructured, making it difficult to find every item in an order or investigate an error
SDE collects all required values in one guided form and immediately creates a structured row for the “Pick and Pack Orders with a Phone” use case.
OMS, WMS, or a dedicated picking and packing module
Provides more capabilities but requires order, user, and warehouse process configuration
SDE can be launched without a full implementation: create a form, connect Google Sheets, and use only the fields required for the “Pick and Pack Orders with a Phone” use case.
How to Set Up SDE with Google Sheets
1
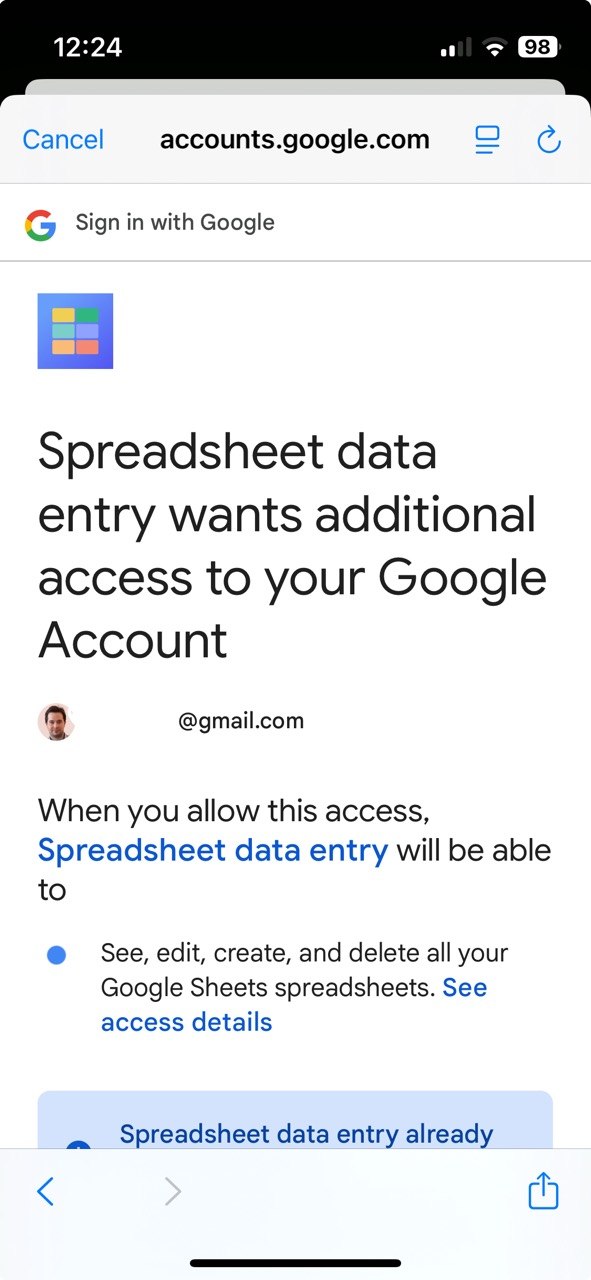
Install the app and sign in with Google
Download SDE, sign in with Google, and grant access to your Google account so the app can work with your Google Sheets.
Install SDE on your smartphone.
Open the app.
Sign in or create an account with Google.
Open Settings.
Connect the Google account you want to use with Google Sheets.
Confirm access.
The app is ready to work with Google Sheets.
2
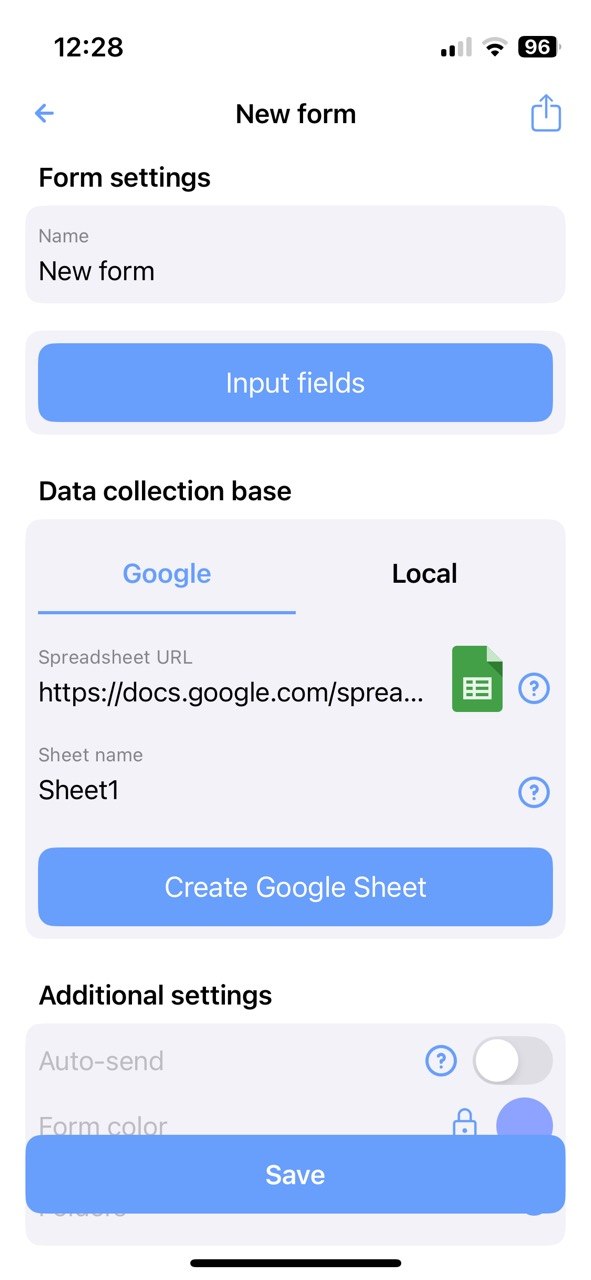
Create a spreadsheet and connect a form
Prepare a Google Sheet and create a new SDE form that will send data to the required worksheet.
Create a Google Sheet.
Add a worksheet for collecting data.
Tap “Create form” in SDE.
Enter the form name.
Select Google Sheets as the storage destination.
Choose the required spreadsheet and worksheet with the assistant, or paste the link manually.
The form is connected to Google Sheets and ready for field configuration.
3
Add form fields and map them to spreadsheet columns
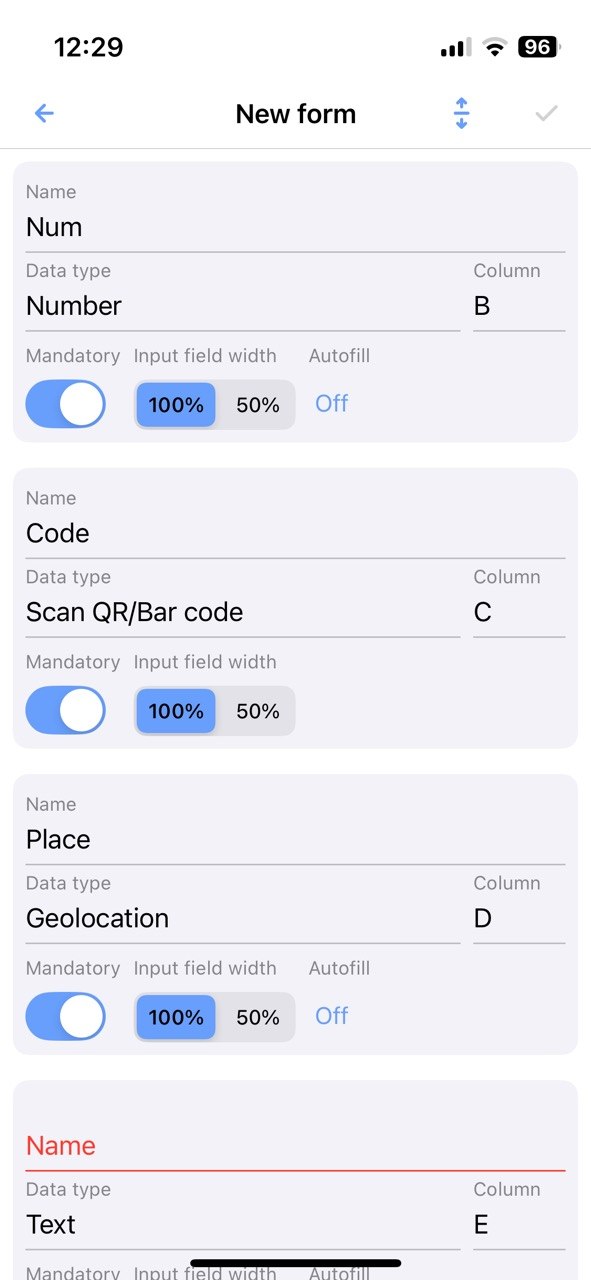
Configure the fields users will complete on their phones and specify which Google Sheets column should store each value.
Open the form field editor.
Add the required fields, such as date, barcode, item name, quantity, and location.
Select the appropriate data type for every field.
Specify the destination column for each field: A, B, C, and so on.
Mark required fields when needed.
Save the form.
The form is fully configured and ready for data entry.
4
Open the form and send data to the spreadsheet
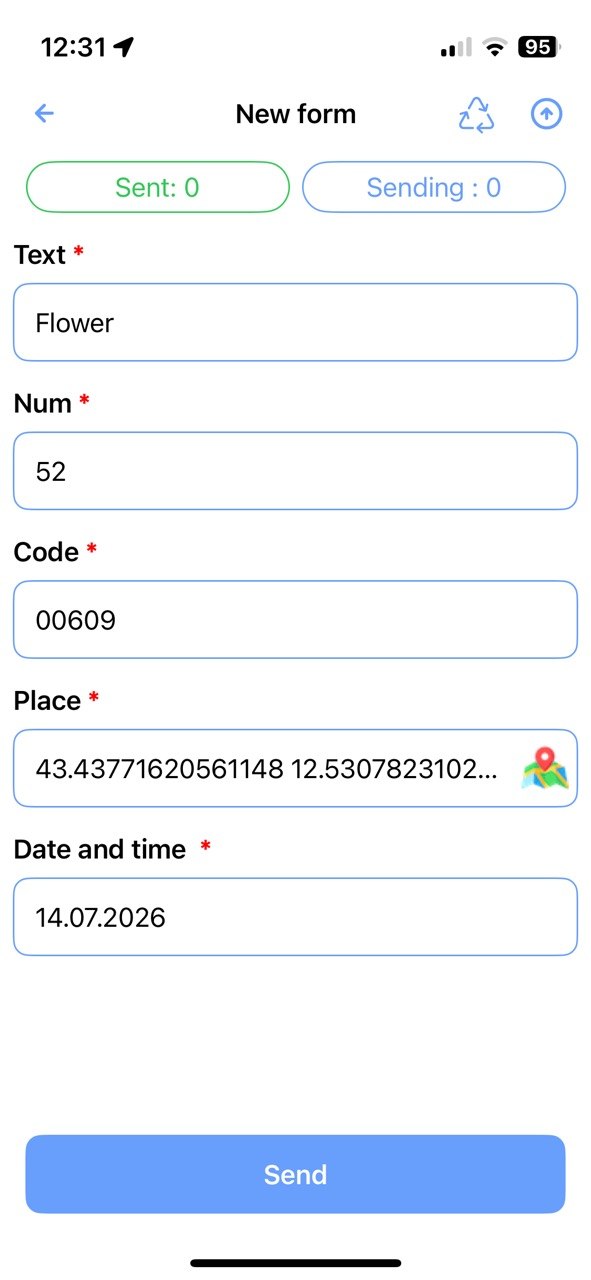
Open the completed form, fill it in on your phone, and send the first record. The data will appear in Google Sheets immediately.
Open the saved form.
Complete the fields or scan a code.
Tap “Submit”.
Wait for the successful submission confirmation.
Open Google Sheets and check the new data row.
The data was submitted successfully and appeared in the spreadsheet.
Template
Ready-to-use Google Sheets template: Pick and Pack
Copy the ready-made spreadsheet to your Google Drive, connect it to an SDE form, and start collecting data from your phone. The template already includes the required columns, formulas (where needed), filters, and a sample row.